About My First Homelab
The story and philosophy behind this beginner-friendly homelab guide.
This guide begins where I did: with one spare computer and a reason to see what it could do.
Why this guide exists
Section titled “Why this guide exists”Homelabbing can quickly become overwhelming. There are endless combinations of hardware, operating systems, networking, storage, and applications. That freedom is part of the fun later, but it can make starting much harder than it needs to be.
My First Homelab removes those choices. It gives you one deliberately opinionated path from an old PC to a small, working homelab. More importantly, it is built so that mistakes are cheap. When breaking things stops being scary, experimenting becomes fun instead of intimidating.
You will eventually outgrow this guide. That is the point. It should leave you with a working system and the confidence to break it, fix it, and choose what comes next.
I am not an expert. I am still learning and experimenting. I have spent an inordinate amount of time on this hobby over the years and it even led to a little consulting work, but curiosity remains my main qualification.
How I started
Section titled “How I started”My personal first homelab started with a Dell desktop I no longer needed after replacing it with an Intel NUC. I went looking for something useful to do with the old computer and set up my first home server. A few trips to the electronics recycling bin later and that one spare PC had turned into a full-blown hobby.
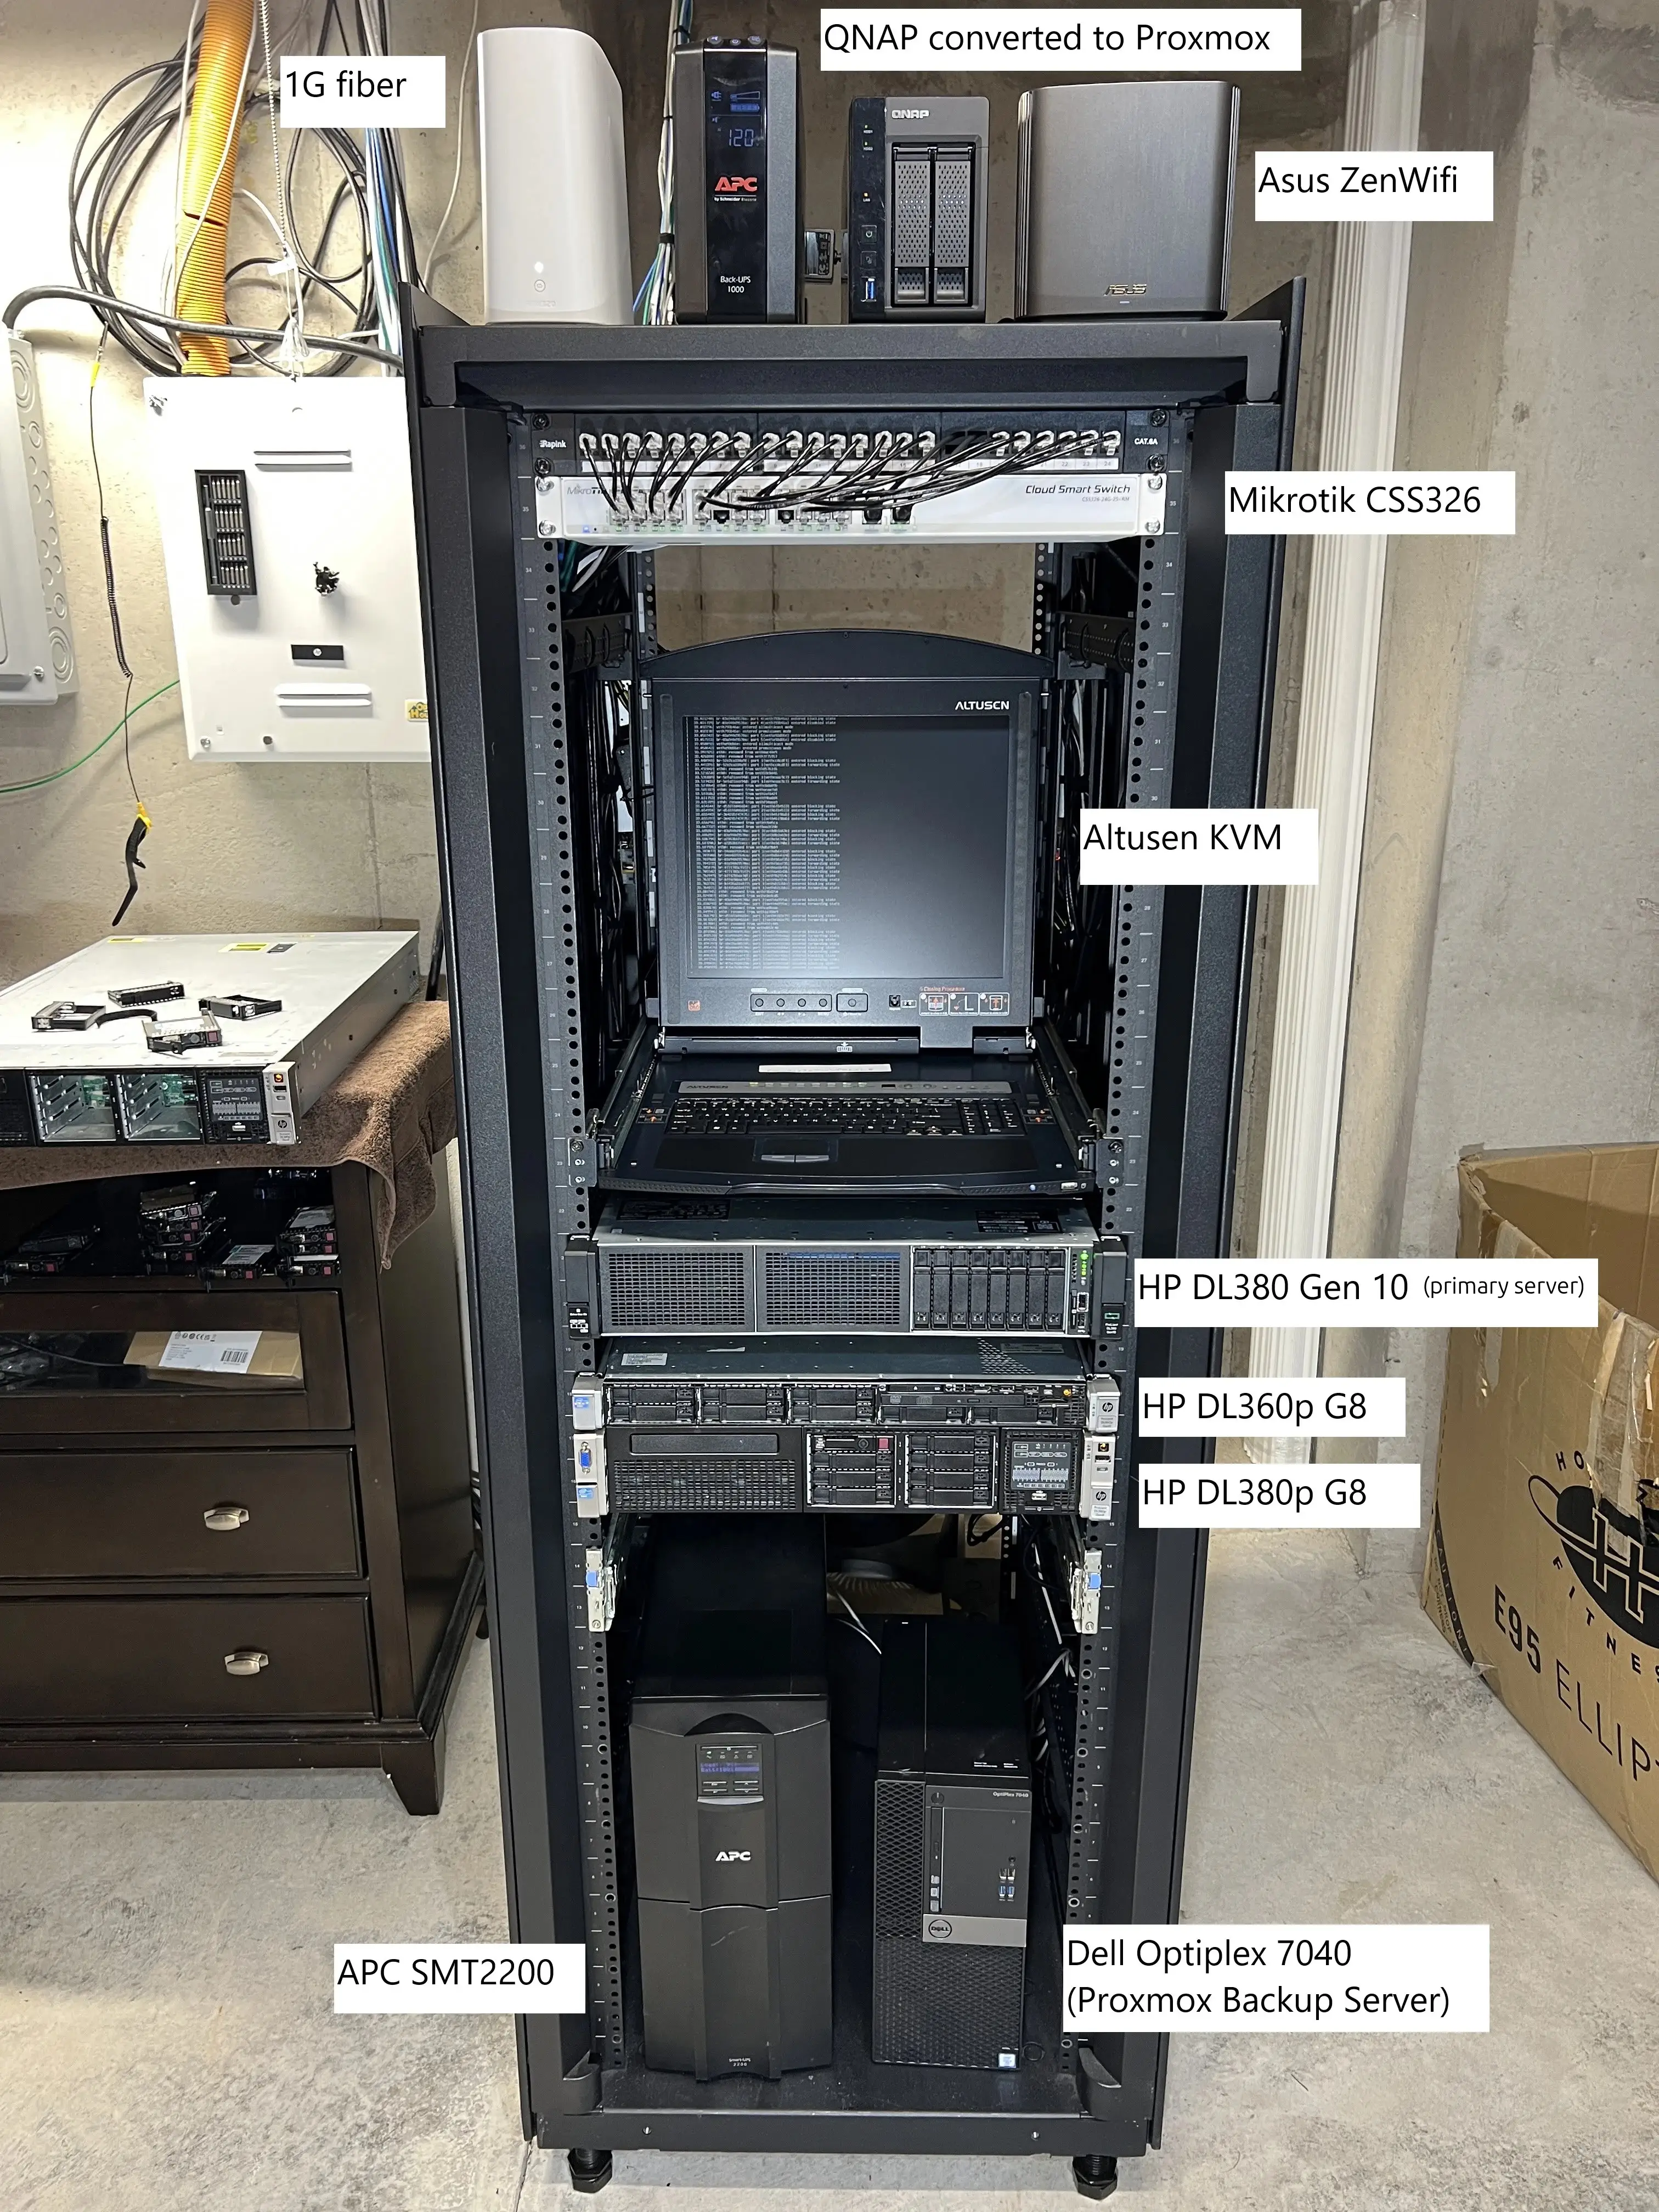
Over the years, that hobby grew into the rack below. Much of the equipment was free or bought secondhand for very little. I have since downsized, but the HP DL380 Gen10 in the rack is still my primary self-hosting server.
Where the hobby went
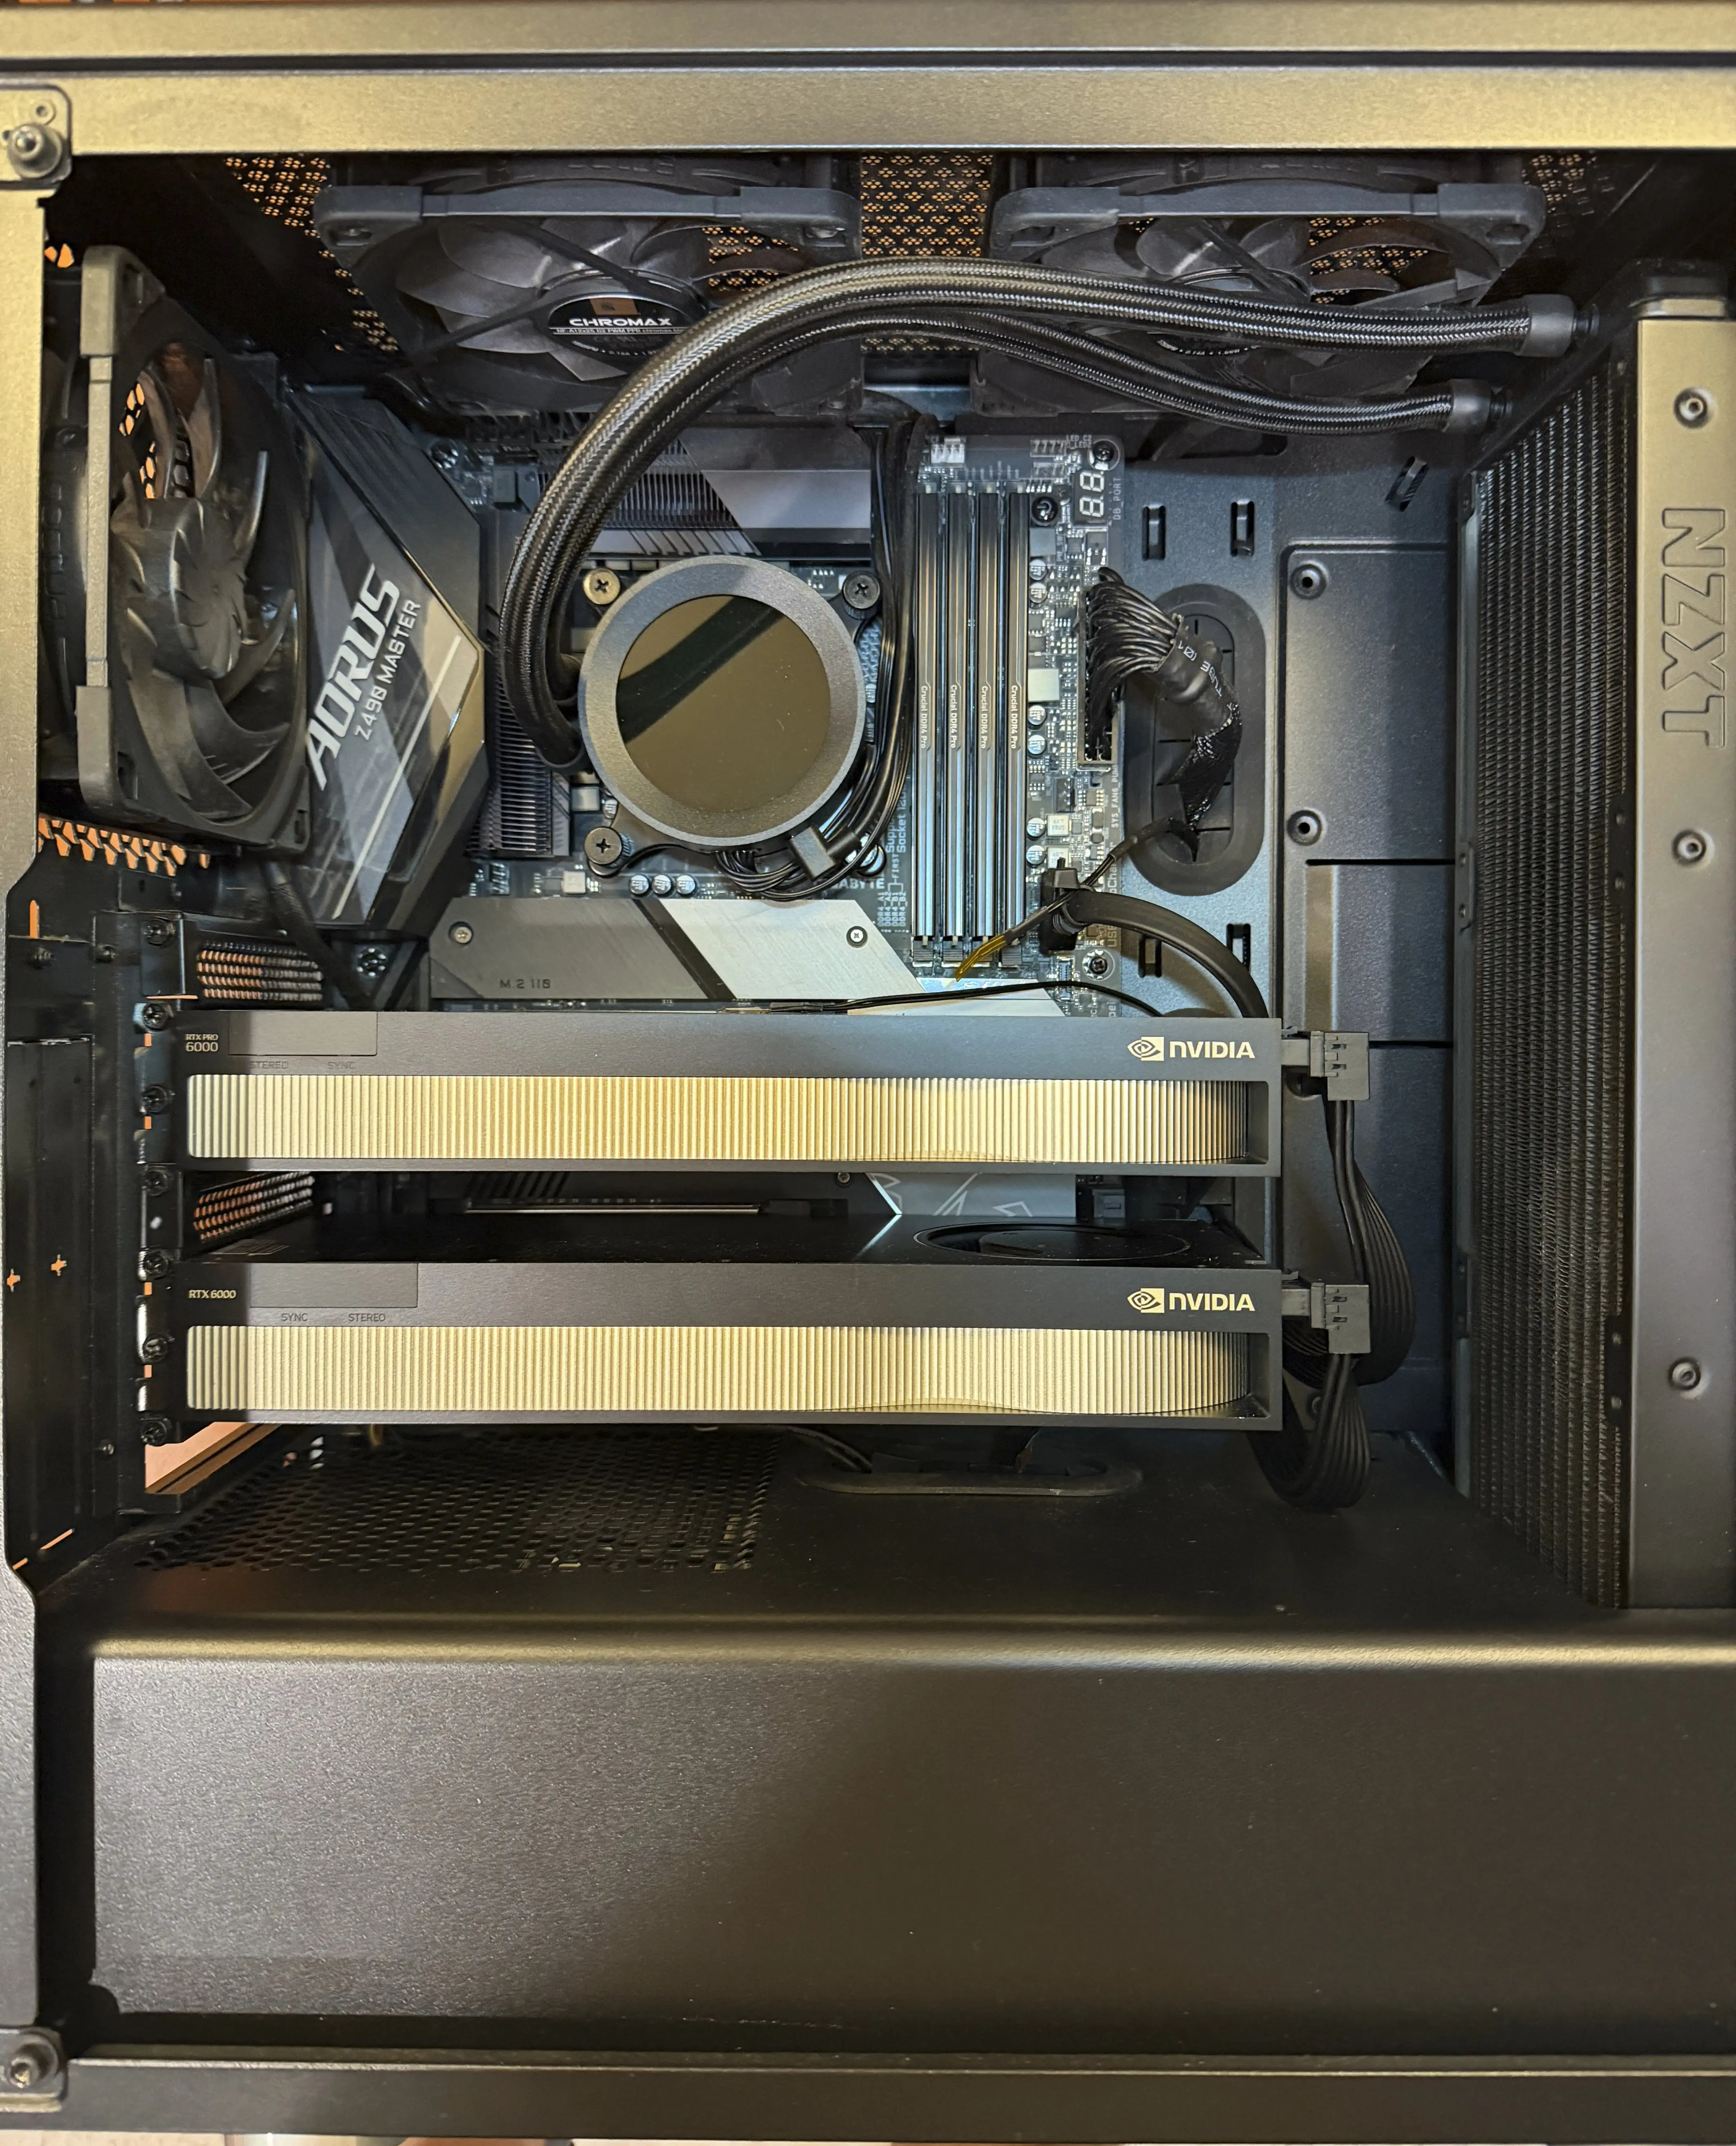
Section titled “Where the hobby went”I am probably unusual among homelab enthusiasts because I do not host a music or movie collection. My homelab is fairly stable these days, with a few big apps (Home Assistant, Nextcloud, Immich, Actual) and a variety of smaller ones. I maintain a couple of small open source projects and a few websites, and spend a lot of time exploring different technologies and AI projects. AI eventually turned my inexpensive e-waste hobby into a much more expensive one — running AI locally is entirely optional, and there is no cheap way to do it with powerful GPUs. My current workstation, with two NVIDIA workstation GPUs, is where I spend most of my project time today.
None of that is where you need to start. Everything in this guide runs on the kind of computer you may already have sitting in a closet.